This article describes how to set up new Somnofy devices in your tenant
Note: This article applies to Somnofy devices only. Support for Guardian H10 in the Connect app is not yet available.
This step is often done before delivery by Vitalthings support. However, sometimes you may have to set up the Somnofy yourself. This article will walk through the process step by step.
Step 1: Power on the Somnofy
- Plug in the power cable to turn on the device.
Step 2: Log into the Somnofy Connect app
- Open the Somnofy Connect app on your tablet or mobile phone.
- Ensure the app has access to Bluetooth (iOS & Android) and location services (Android only).
Step 3: Scan and connect to the correct Somnofy device
.png?width=383&height=177&name=IMG_9598%20(1).png)
- Click on the Scan icon at the bottom centre of the screen.
- Then, click Scan for devices.
- Your device will now appear in the list.

- Your device will now appear in the list.
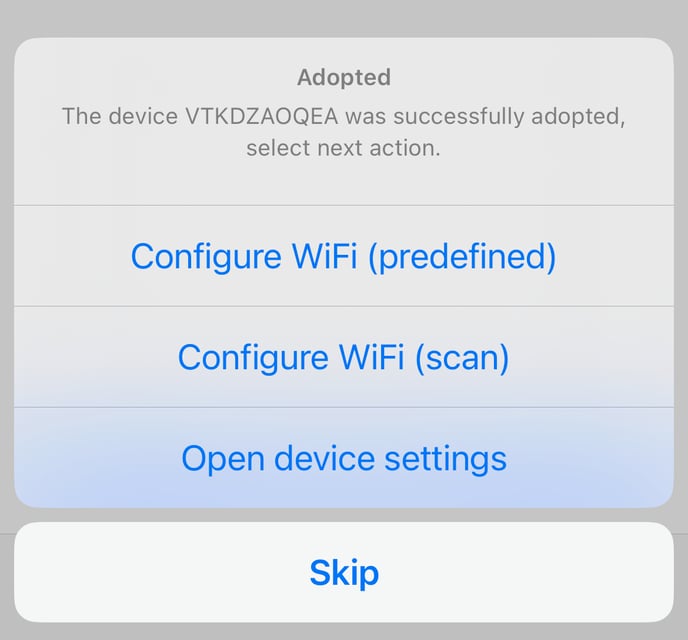
- Tap on the correct device and select “Adopt” to connect it to your tenant.
Step 4: Assign the device to the correct zone

- After adopting the device, select the zone within your tenant where the device should be.
- Click “OK” to confirm.
Step 5: Configure WiFi or prepare for relocation
- If the device was set up in a different location, you can skip WiFi configuration, power it down, and move it to its designated room before setting up WiFi.
- If the device is already placed in its final location, proceed with WiFi configuration.
For a step-by-step on how to configure WiFi, check out our next article ->
